Already got a SEEK account? See how to add LS Login to your account instead.
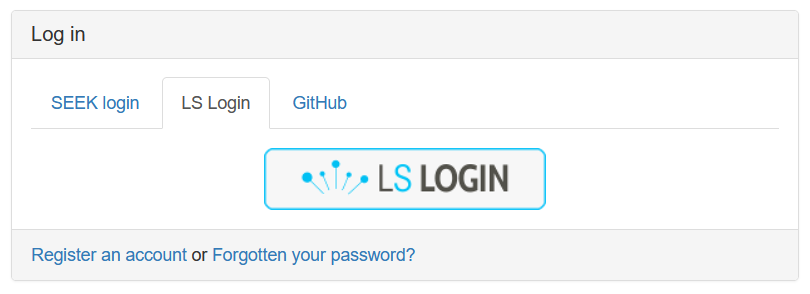
If enabled on the FAIRDOM-SEEK instance you are using, you will see a tab on the login form titled “LS Login”
Clicking this will switch to the LS Login tab and present the LS Login login button.
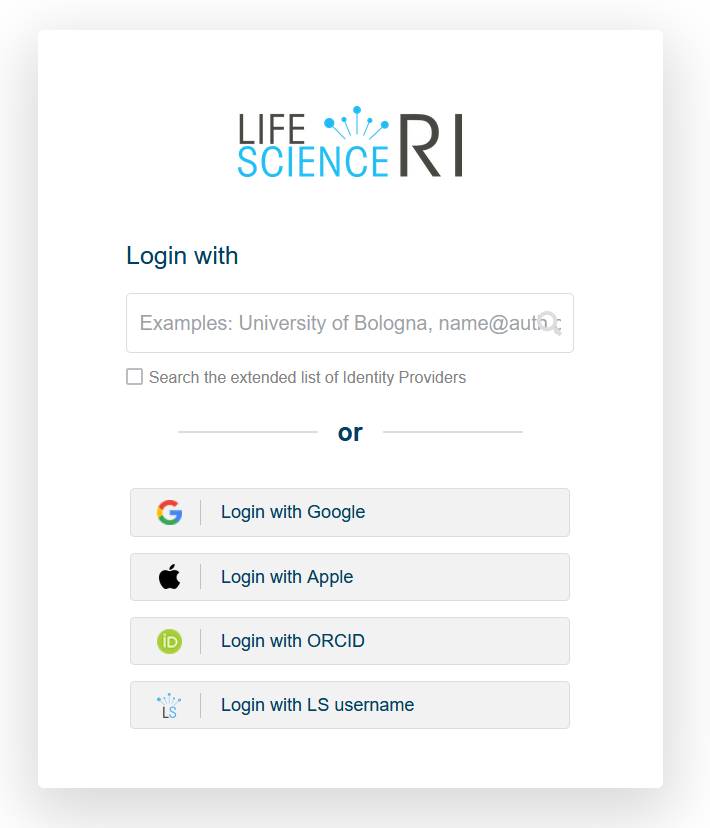
Clicking this button will redirect your browser to LS Login, where you will be asked to choose your “Identity Provider”, which will usually be your academic institution. If you have logged in using LS Login before, your institution may be highlighted at the top, otherwise you can use the search box to find it.
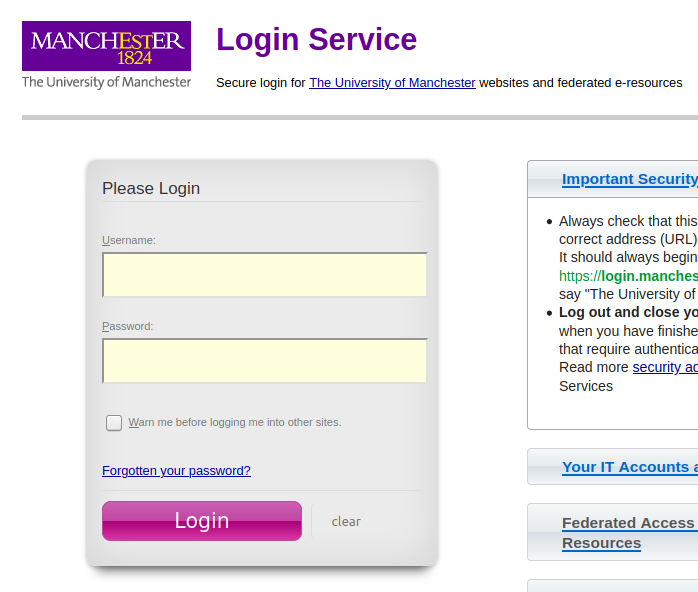
You will then be redirected to your institution’s login page, where you can login using your institution account’s credentials. Note: this will likely look different to the screenshot below.
After logging in through your institution, you may then be presented with a personal information consent page, which outlines what personal data will be provided by LS Login to the FAIRDOM-SEEK instance.
At a minimum, the identifier must be provided, or login is not possible. Any other information is used solely to populate fields in your SEEK profile.
If this is your first time logging in via LS Login, you will be directed to create a new “Profile”. For guidance on how to do this, see Registering in SEEK. Some fields such as your name and email address may already be populated with information provided by your institution.
Otherwise, you will be directed to the home page and should now be logged in.